

Managing Projects
This section outlines the steps to create, edit, and delete projects seamlessly using Checkmate.
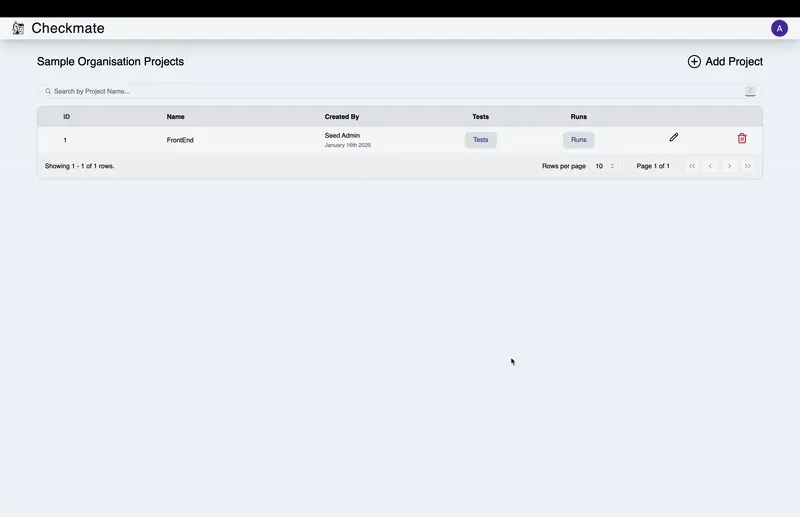
1. Creating a Project
To create a new project, follow these steps:
- Click the Add Project button.
- You will be directed to the project creation page.
- Enter the required information.
Note: The project name must contain at least 5 characters.
- Once all fields are completed, click Create.
If the project is successfully created, a notification will appear with the message: “Project Added”.
Video Tutorial
2. Editing a Project
To modify an existing project, proceed as follows:
- Locate the project in the table and click the Pencil Icon.
- An editable pop-up form will appear.
- Update the required fields with the new details.
- Click Save Changes to confirm.
Upon successful editing, a notification will appear with the message: “Success”. The changes will immediately reflect in the project table.
Video Tutorial
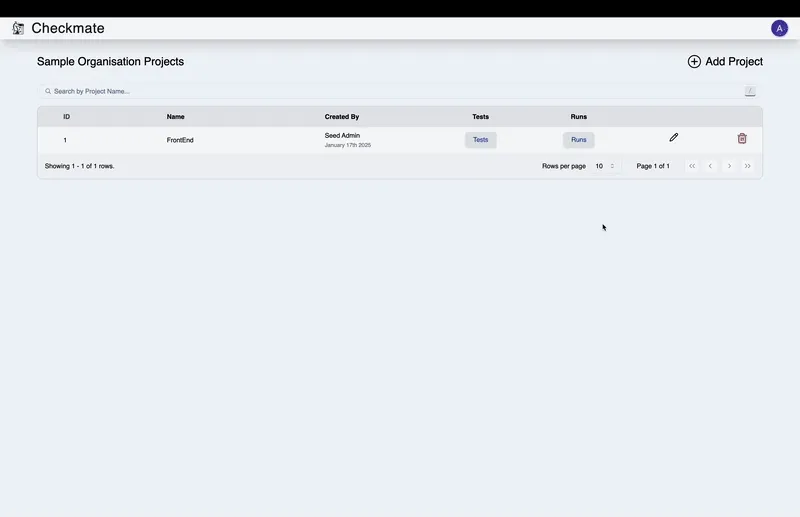
3. Deleting a Project
To remove a project, take the following steps:
- Locate the project in the table and click the Delete Icon.
- A confirmation dialog will appear.
- Click Yes, Delete to confirm the action.
If the deletion is successful, a notification will appear with the message: “Success”.
Video Tutorial
